
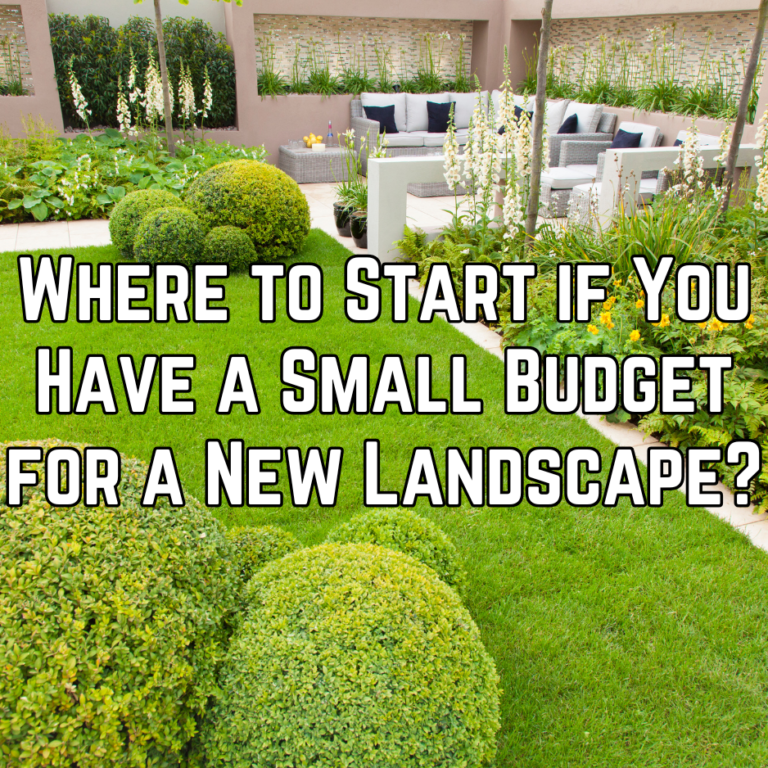
Working with a limited budget doesn’t mean settling for a lackluster yard. The key is to plan strategically, prioritize what matters most, and build your landscape in phases—ensuring that every dollar you spend contributes to long-term value. Here’s how to create a beautiful and functional outdoor space without overspending.
Key Takeaways
Begin with planning, evaluation, and smart prioritization. Focus on infrastructure, drainage, and soil improvements first. Use low-cost hardscapes and native, resilient plants. Build in phases rather than doing everything at once. Repurpose, reuse, and shop creatively to make your budget go further.
Why Smart Sequencing Matters
Landscaping done out of order often leads to costly fixes, damaged plants, and wasted materials. Skipping grading, irrigation, or drainage early can force expensive rework later. When you’re working with a small budget, every mistake counts. By following a logical sequence—addressing foundation, structure, and soil before adding decorative features—you’ll maximize impact and minimize waste.
Phase 1: Planning, Assessment & Budget Strategy
Start by walking your property and evaluating what you have to work with. Identify slopes, drainage flow, and sunlight patterns. Note existing utilities, trees, and boundaries. Define zones for seating, pathways, planting beds, and lawns. Take photos and sketch a simple layout to visualize your ideas. Ask yourself: What features are must-haves, and what can wait? Which improvements will have the biggest visual or functional impact? What can you do yourself, and what should a professional handle?
Sample Budget Allocation
| Component | Percent of Total | Example (on $10,000 Budget) | Notes |
|---|---|---|---|
| Hardscape & Structure | 30–40% | $3,000–$4,000 | Use gravel or pavers instead of concrete |
| Irrigation & Drainage | 10–15% | $1,000–$1,500 | Install main lines early |
| Soil & Grading | 10–15% | $1,000–$1,500 | Proper grading saves rework later |
| Plants & Turf | 20–25% | $2,000–$2,500 | Buy smaller plants and let them grow |
| Lighting & Decor | 5–10% | $500–$1,000 | Choose solar or LED lights |
| Design & Contingency | 5–10% | $500–$1,000 | Reserve funds for surprises |
| Always set aside a small contingency fund for unexpected costs. |
Phase 2: Infrastructure Before Decoration
Start with the foundation. Correct grading ensures that water flows away from your home and prevents drainage problems later. Establish a gentle slope away from structures (about 2%). Fix low spots and compact soil for stability. Add or replace topsoil if needed. Install French drains or surface drains where water pools. Before you install hardscaping or plants, handle all underground elements: main irrigation and drip lines, drainage pipes, and electrical conduits for future lighting. Completing this step early prevents expensive and disruptive digging later on.
Phase 3: Cost-Conscious Hardscaping
Hardscaping often consumes the biggest part of a budget, but it defines the structure and usability of your yard. Smart material choices can save thousands without compromising style. Choose gravel or decomposed granite patios instead of poured concrete. Lay pavers in sand rather than mortar. Use stepping stone walkways with mulch or groundcover between. Build DIY timber edging for garden beds. Reuse bricks, stone, or concrete blocks for small retaining areas.
Material Comparison
| Material | Lifespan | Cost per Sq. Ft. | Notes |
|---|---|---|---|
| Gravel | 7–10 years | $1–$2 | Low cost and easy to maintain |
| Pavers | 15–25 years | $4–$8 | Durable and versatile |
| Concrete | 25–40 years | $6–$10 | Strong but costlier |
| Natural Stone | 30+ years | $10–$20 | Premium look, high cost |
| If you can’t afford a permanent surface yet, install a temporary one (like gravel or stepping stones) and upgrade later. |
Phase 4: Irrigation, Drainage & Soil Conditioning
Begin with drip irrigation or soaker hoses—they’re efficient and affordable. Install a simple timer or controller for even watering. Plan zones for future expansion and choose water-efficient components to lower long-term costs. Healthy soil is the foundation for plant success. Test pH and nutrient levels, add compost or organic matter to improve structure, adjust acidity or alkalinity with lime or sulfur if needed, and mix sand or perlite to boost drainage in heavy clay soils.
Phase 5: Planting & Softscaping
Prioritize native and drought-tolerant plants suited to your climate. Focus on perennials over annuals for longer-lasting color. Buy smaller plants and allow them to mature naturally. Group plants by sunlight and water needs. Trade or divide plants with friends and neighbors. Install trees and large shrubs first, then medium shrubs and perennials, and finish with groundcovers and border plants. Add 2–3 inches of mulch to retain moisture, reduce weeds, and regulate soil temperature, keeping it a few inches from plant bases.
Phase 6: Lawn Alternatives and Groundcover
Traditional lawns are expensive to maintain. If your goal is a beautiful, low-maintenance yard, consider limiting or replacing turf areas.
| Option | Cost per Sq. Ft. | Establishment Time | Maintenance |
|---|---|---|---|
| Grass Seed | $0.10–$0.25 | Slow | Moderate |
| Sod | $0.80–$1.50 | Fast | Moderate |
| Clover or Meadow Mix | $0.15–$0.40 | Moderate | Low |
| Artificial Turf | $5–$12 | Immediate | Very Low |
| Decorative Gravel | $1–$3 | Immediate | Minimal |
| Reducing lawn size not only saves water but also reduces mowing, fertilizing, and maintenance costs year-round. |
Phase 7: Lighting & Finishing Touches
Solar LED lights are perfect for walkways and focal points. Add low-voltage lighting later for safety and ambiance. Focus on key areas like entries, trees, or paths. Finish your project with mulch, clean edging, and potted plants for instant polish. Repurpose planters, benches, or garden art. Add small water features or birdbaths for charm, and check if your city offers free mulch or compost.
Common Budget Mistakes to Avoid
Installing plants before infrastructure is complete, skipping soil preparation, using cheap materials in high-traffic areas, ignoring drainage issues, and trying to finish everything at once instead of phasing are common pitfalls that drive costs up over time.
Sample Project Timeline
| Project Type | Duration | Notes |
|---|---|---|
| Small DIY Project (< $5,000) | Short | Focus on essentials and simple features |
| Moderate Project ($5,000–$15,000) | Medium | Add irrigation and basic hardscaping |
| Larger Phased Project ($15,000+) | Long-Term | Include multiple features and decorative elements |
Stretching Your Landscaping Budget
Reuse or repurpose materials from other projects. Shop end-of-season sales for discounted plants. Organize plant swaps with neighbors. Take advantage of free mulch or compost from community programs. Focus on durable, long-term improvements before decor.
Maintaining Your Investment
Even a budget-friendly landscape needs consistent care. Refresh mulch and check irrigation each season. Weed and prune regularly. Fertilize in spring and fall as needed. Replace or divide plants gradually over time. A small annual maintenance effort keeps your outdoor space thriving and prevents expensive problems later.
Conclusion
A beautiful landscape doesn’t depend on how much you spend—it depends on how you plan. By focusing on essentials first, using affordable materials, and working in logical phases, you can create a yard that grows in value and beauty over time. Start small, invest smartly, and let your landscape evolve—one thoughtful step at a time.